
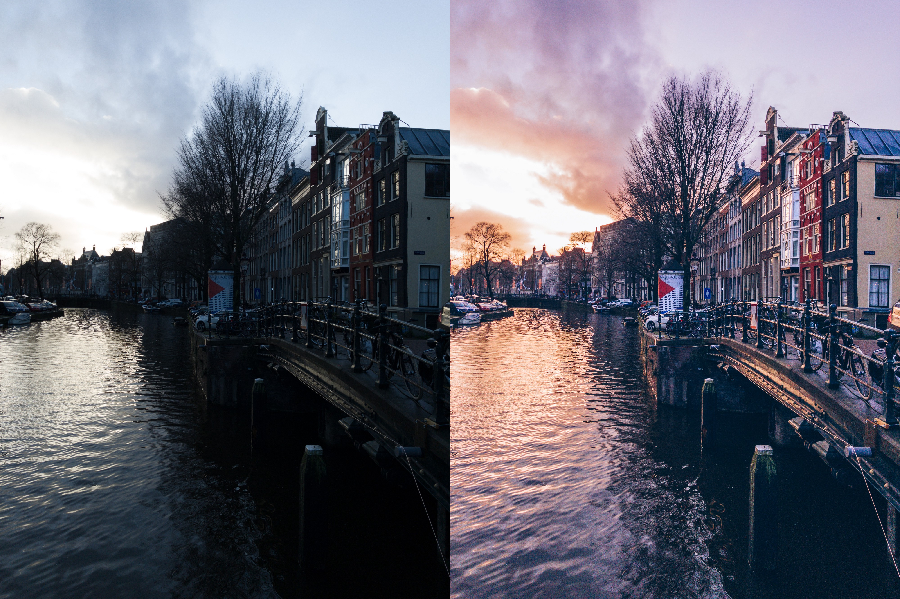
Sometimes we wonder what program is used to make an image get such a professional result. We think that it takes long to obtain such an effect, but there are specialized programs for this.
First of all, most of those photographs were taken in a special format that allows professional retouching: RAW.
Steps To Edit Photos In RAW Format
- Select the program. There are varieties of programs to process in RAW format, either through a computer or from a mobile phone. To mention some of them,instead of Lightroom, we find Camera draw, AZ Camera, Snapseed, etc. After selecting, choose the image you want to work on.
- Restore the default values of the program. This is to avoid major inconvenience when editing.
- Subsequently, adjust the white balances using the white balance tool. Click on a white background, preferably bright.
- Lower the brightness. Leave it at -50%
- Next, manage shadows to brighten faces.
- The last update of the program includes the tool to clear the mist, which allows giving a contrast in a general way. Search within the contrast options and put a + 40%
- To give more light to the face, a radial filter will be used, which is located in the upper options of the memory. Increase shade tonality and also exposure.
- In the end, select the place to work.
- Duplicate the filtration to give clarity. However, the intensity should be decreased, because what is desired is to give more prominence.
- Continuing, go to graduated filter. Change the value of the controls to zero, less than the black hue that will be -51%, the clarity changes its value to + 50% and the haze will be + 20%.
- Obtained the filter to graduate, shade the corners; the difference will be noticeable.
- Finally, return to the radial filter and give more detail. Change the clarity value to 15%
In just twelve easy steps, we can obtain a professional and quality result.


Comments